Well, today I found them in the garage, and decided to dust them off and finish the painting; and before you knew it I'd forgotten about painting them and had set about modifying them so they could also be used as agility training jumps.
Firstly you'll need a set of plans that are available as a free download from here: Free Flyball jump plans
You will find that one sheet of 9mm thick exterior plywood is ideal for this project. All the cuts can be easily achieved with a Jigsaw with a blade suitable for cutting curves, but access to a router with a 9.5mm or 3/8 straight cutter, and a 3 inch or 75mm dia holesaw will make things tidier.
On the plans, there is no given radius for the top curve: I chose a 3 inch radius because the bottom assembly slot is at 3 inches high and it made marking out easier and more straight forward for me with a continual reference line across the plywood sheet. 3" radus gives you 6 inches diameter, and that suits a 3" or 75mm holesaw to make the carrying handle holes; I prefer the slightly larger 3 inch hole to the 2 & 1/2" hole quoted on the plans.
I also made my hurdle base boards 12 inches high, with the ability to add two additional 3" boards. This gives me the option of jumping Oz over 12, 15, and 18 inch high hurdles (all of which are slightly higher than the official regulation sizes).
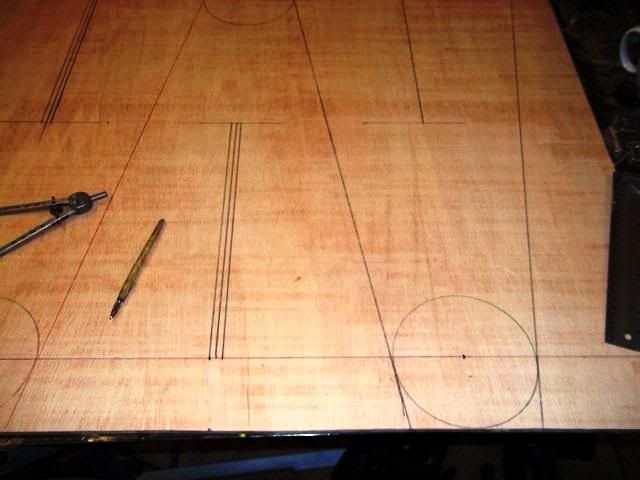
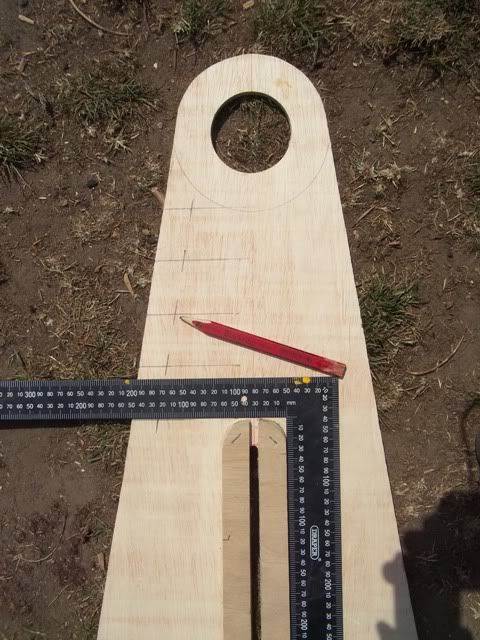
Marking the board out prior to cutting:
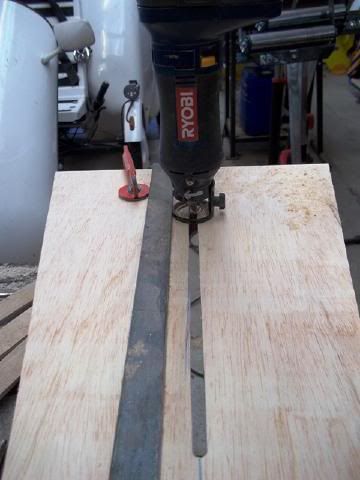
Using my rotozip tool (which accepts 1/4" shank router bits) with a 9.5mm straight bit to cut the self assembly slot:
Fitting the timber doublers to strengthen the slots in the side boards (these are my addition and not shown on the plans):

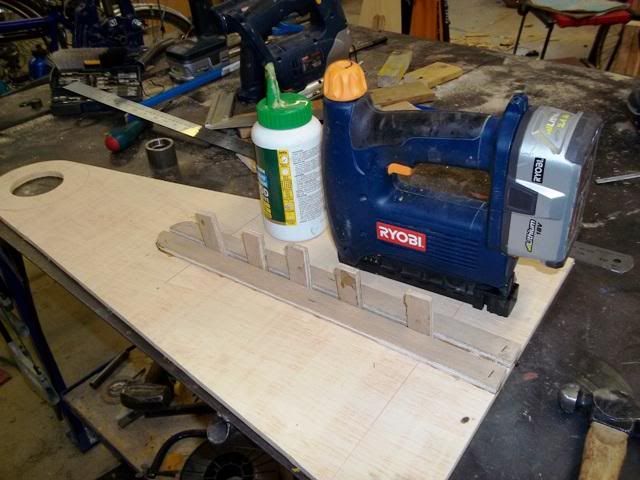
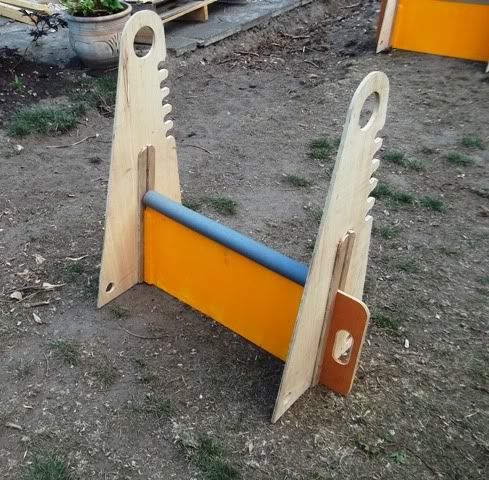
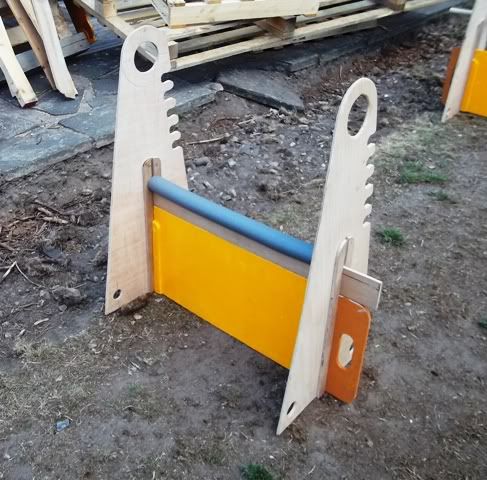
When you have finished this stage you should have something that looks like this:
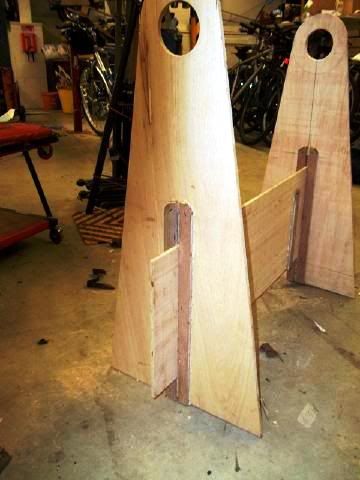
And when you have only half painted them like I had, something that looks like this:
I have modified one set of 4 jumps by adding 5 additional cross rail slots at 18" high and including 20", 22", 24" & 26" high.
I have marked out vertically from the centre line rather than the front sloping face of the side board. You can see the pencil marks for the hole centres, marked 1" from the outside edge:
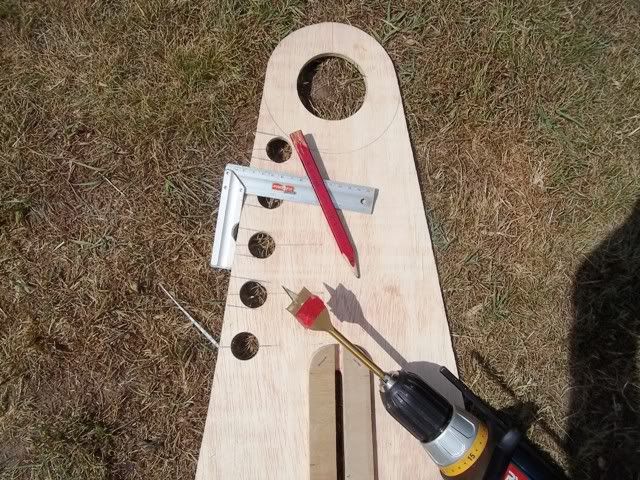
Then I drilled them out with a 27 mm flat/spade drill bit. You can also see that I used my square on the outside edge of the board to mark out the lines for the slots. When the jumps are assembled these slots will angle down towards the centre line, and hold the cross rails in place:
Then using a socket from my socket set, I marked safety radii to each of the slots:
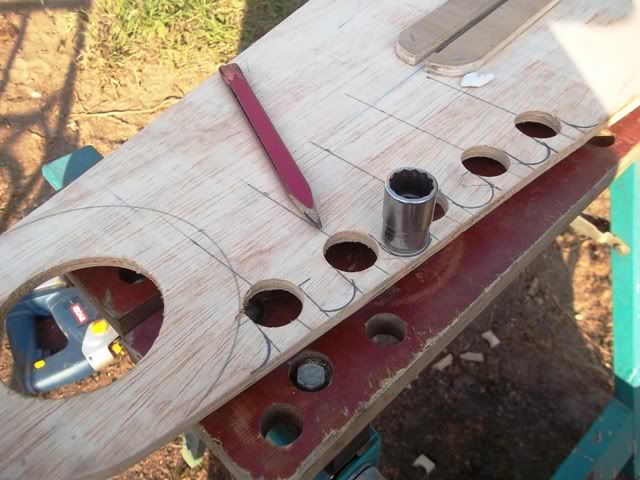
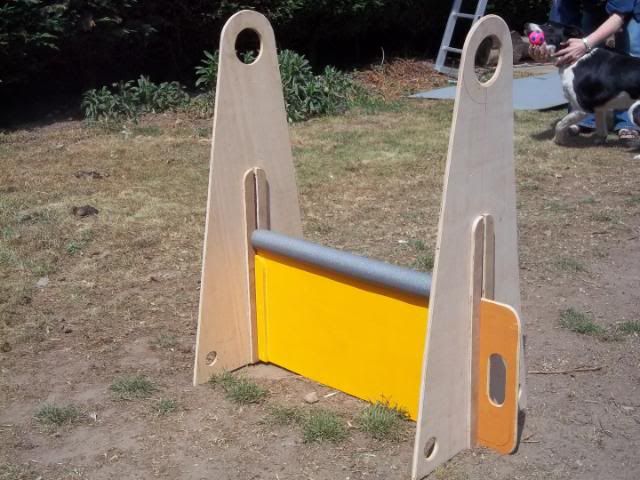
Which I cut out with a jigsaw, and when you add a couple of cross rails the flyball hurdles now look just like this:
Then I remembered the sign which the estate agents had forgotten to collect when we moved in here, and that I had already cut out a 21" diameter circle from it to make a front wheel disc for my Polo bike. 5 minutes and a stanley knife later, and OZ now has a hoop to jump through:
 .
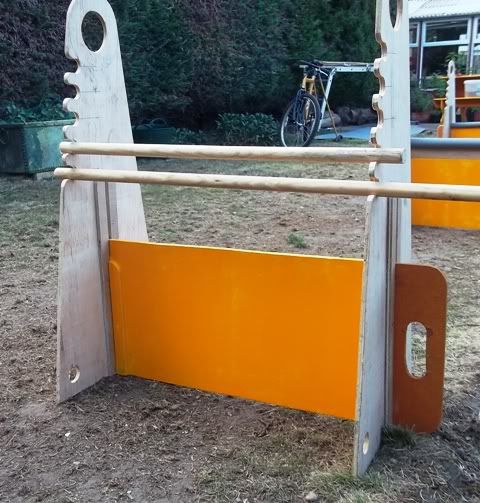
.And to recap here is what the flyball hurdles look like with only the 12 inch high board fitted:
and with the 12 inch high board, and the first additional 3 inch high board making a total of 15 inches:
Later this week, I shall obtain (don't ask!) some lengths of 1" or 25 mm diameter plastic water pipe and cover them with pieces of soft foam insulation to make the jump cross rails. I'll also fix some soft pipe insulation to the inside of the jump hoop so that Oz is not injured if he should mis-judge an obstacle during our informal training sessions. :scratch:
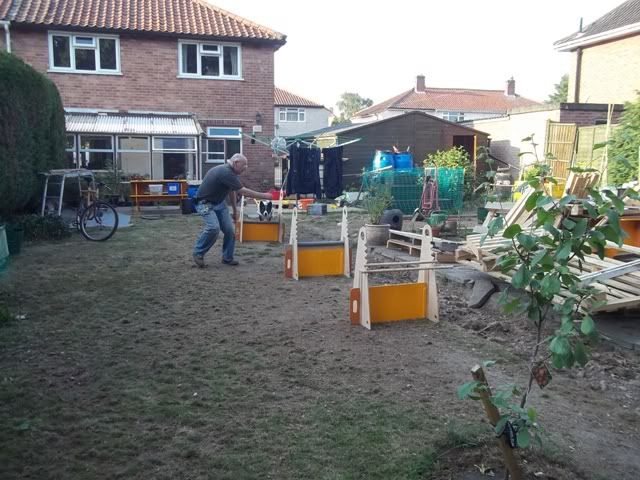
Oz's first time down the new training course in the garden: