Stepped 3 Tier Planter (Reclaimed Pallet Timber Project).My Pallet Stripping Bar has had another outing, and this time I have made a "Stepped from the rear corner" 3 tiered planter, so That Lois and I can plant various flowers in it. Hopefully this coming weekend Lois will be planting bulbs that will make a good showing next springtime, and then the planter will be planted with many colourful annuals.
Due to me being extremely busy with work, and refurbishment and redecorating the house, this planter has been work-in-progress for almost 3 months, with me being able to literally snatch only the odd on half hour or so to work on it.
This planter is based around the 120 cm long stringers timbers on a standard 2 way euro pallet. I have also learnt the hard way the higher the tiers, the more materials are need to make the planter, and the more soil is needed to fill it. Our original vegetable planter has steps at 30 cm high increments, and our herb planter has steps at 15 cm high increments, I have 3 more vegetable planters to make and install in our garden, and I have now settled on 20 cm high increments for the tiers for this flower planter, and the vegetable planters that I will be making next.
The dimensions are as follows:
Base Tier: 120 cm long X 120 cm wide X 20 cm high
Middle Tier: 80 cm long X 80 cm wide X 40 cm high.
Top Tier: 40 cm long X 40 cm wide X 60 cm high.
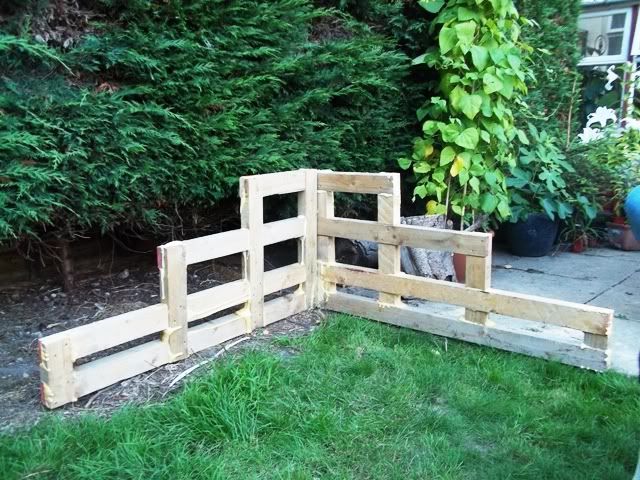
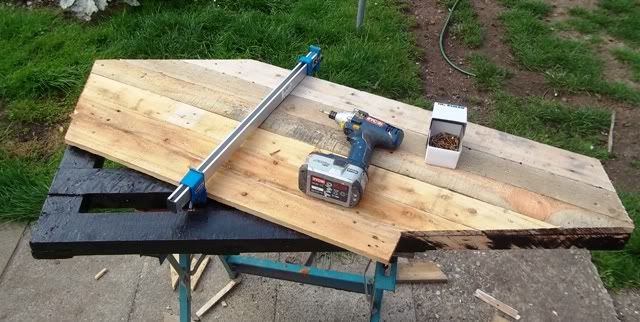
I utilised screwed & glued halving joints to make the framework:

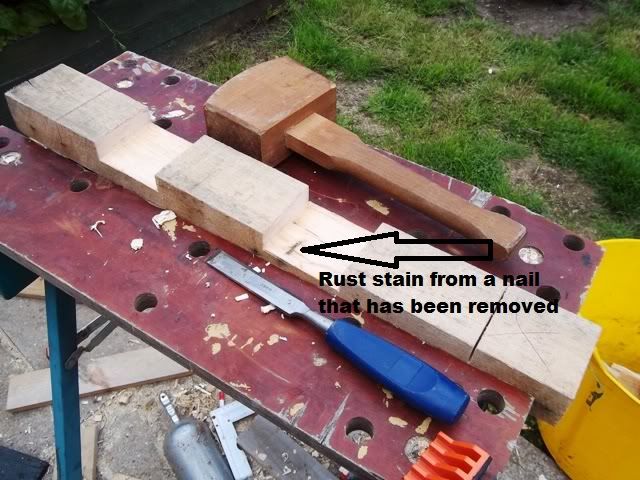
Before you start cutting the timbers to length and chiseling out sections to make the joints, you must ensure that all of the nails have been removed from both the stringer timbers and the planks, otherwise you may seriously damage the tools:
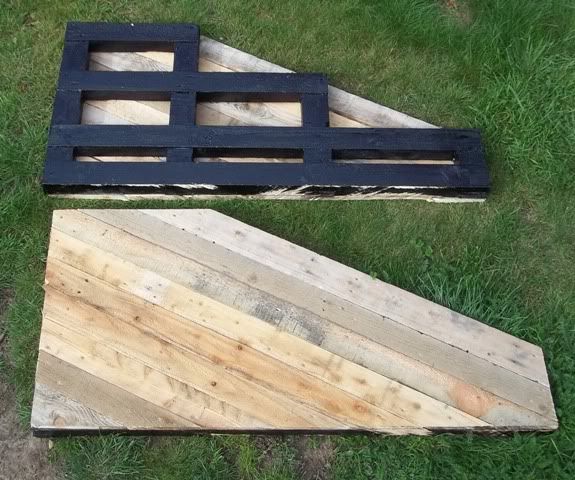
A few of the framework pieces ready to use:
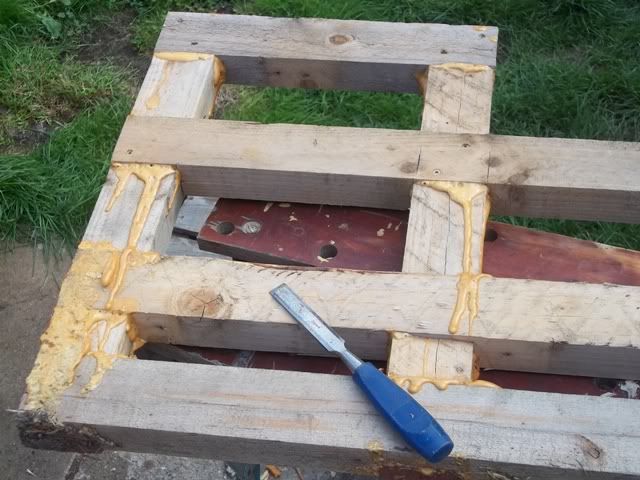
Cleaning up the excess dried foaming polyurethane marine wood glue with a very sharp chisel:
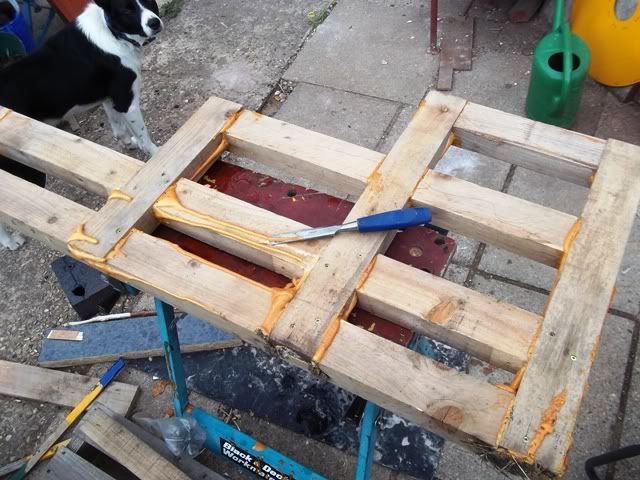
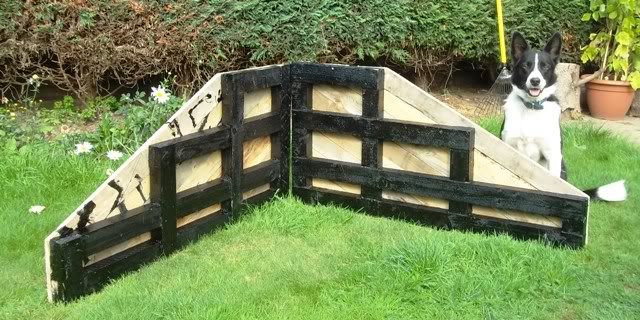
Not forgetting to do the same to the other side before it is ready to be coated with bitumen paint to help preserve the timber:
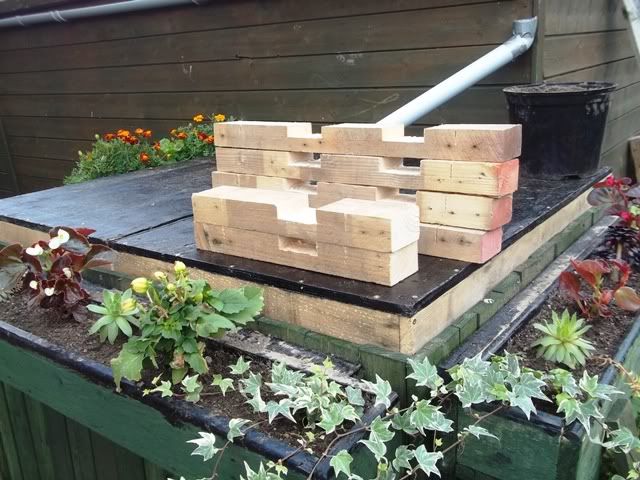
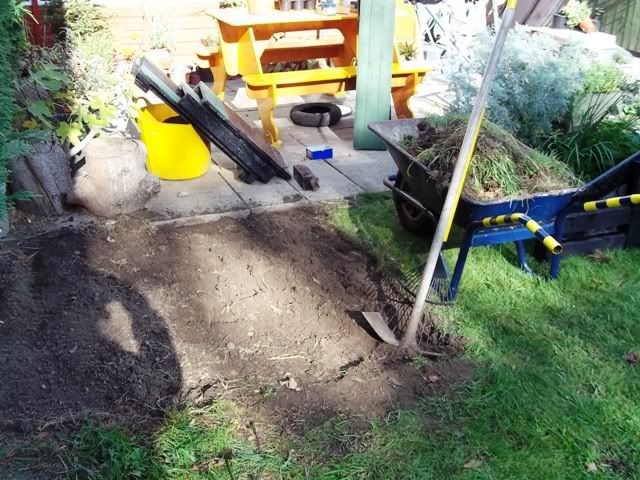
A quick look at how big this planter is going to be, and where we are putting it:
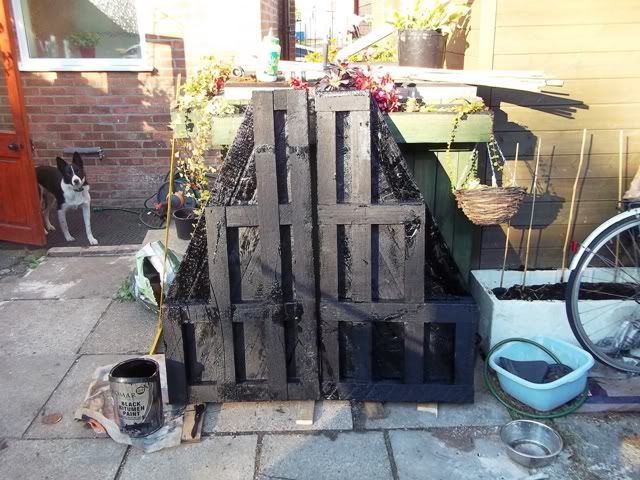
Cladding the frame work with reclaimed pallet planks:

A lick of bitumen paint on all surfaces that will be contact with the soil and compost in the Planter:
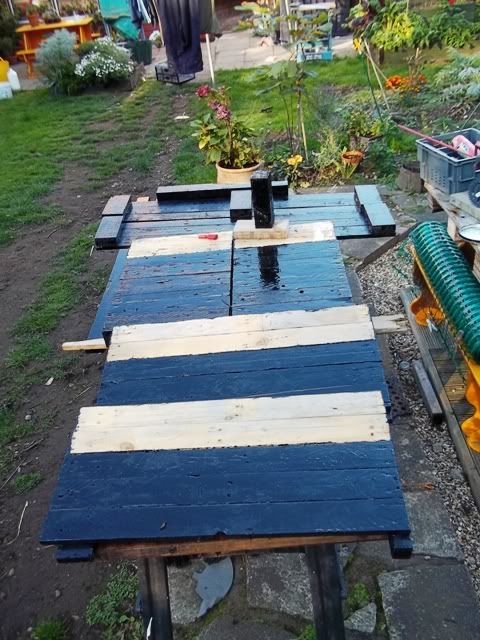
After giving all the rest of the timber surfaces a couple of coats of Forest green Timber Preservative, it was at last time to begin assembling the planter in its final position. A couple of scrap timber braces were installed to help keep everything square, and an area of the lawn was marked out ready to remove the turf:
Lifting the sods with my Azada; I love this tool for ground work, it is so quick, easy and efficient to use:
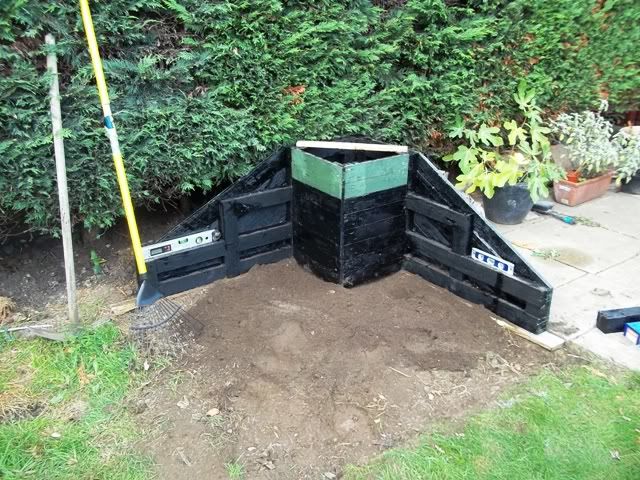
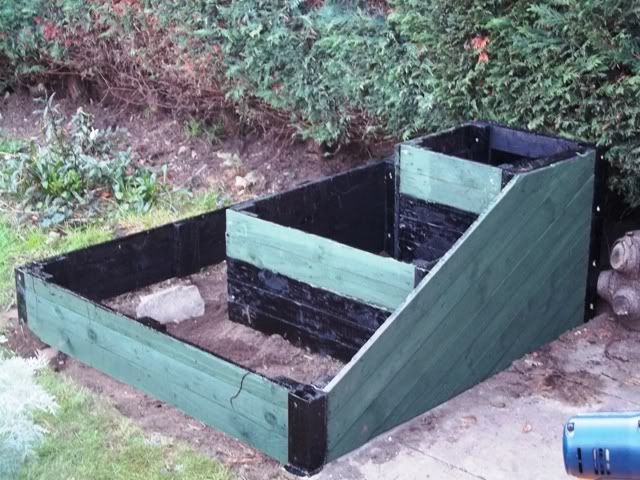
The framework positioned, levelled out and the top tier screwed into place:
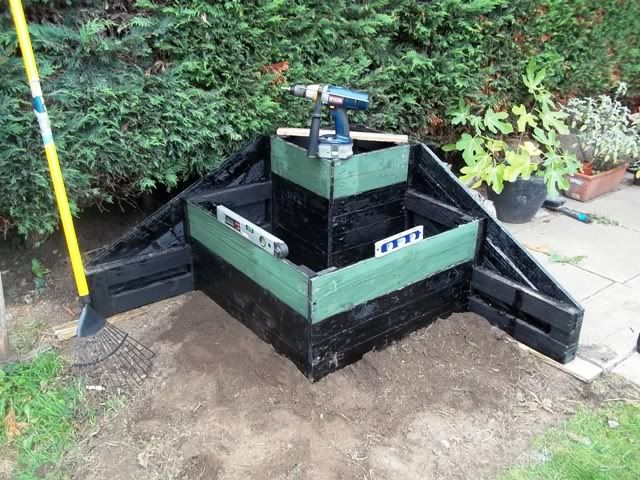
The middle tier positioned and screwed into place:
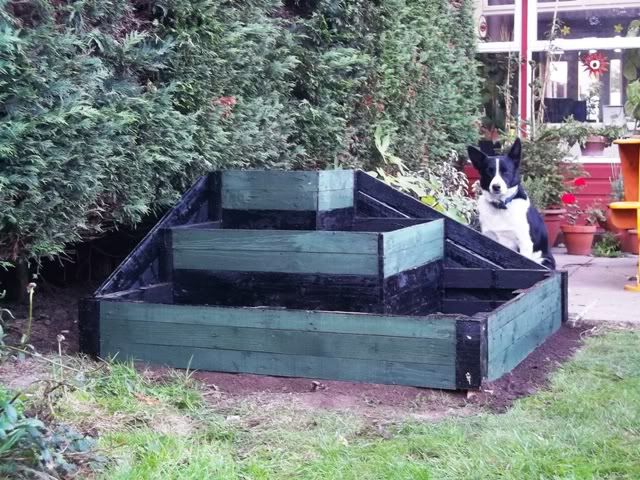
The base tier positioned, screwed into place, and being inspected by Oz:
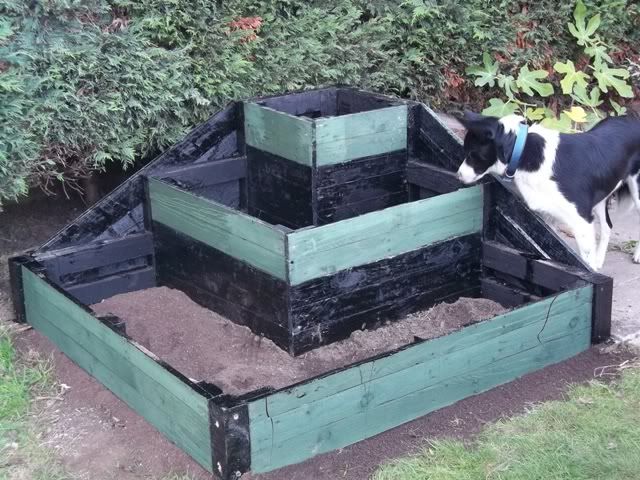
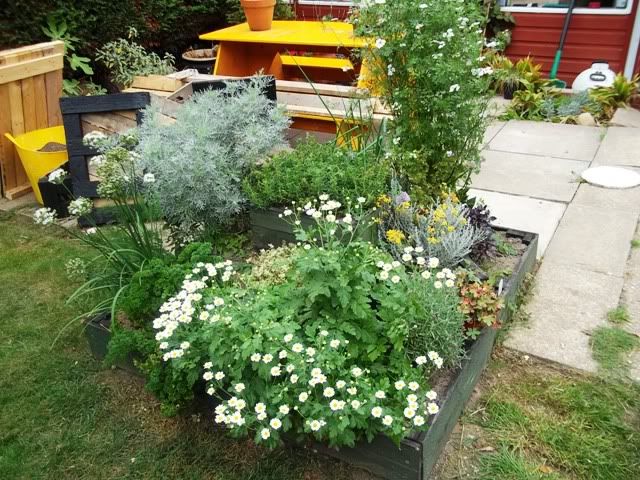
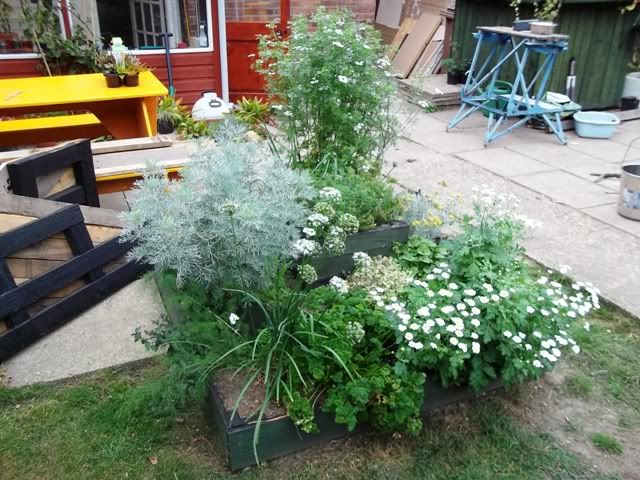
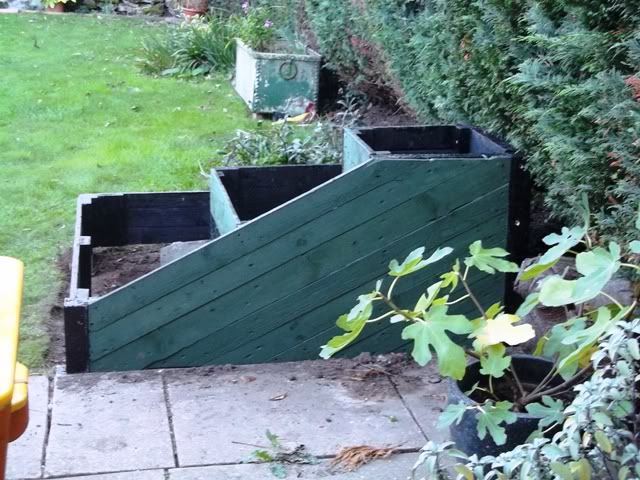
A few more views of this planter:
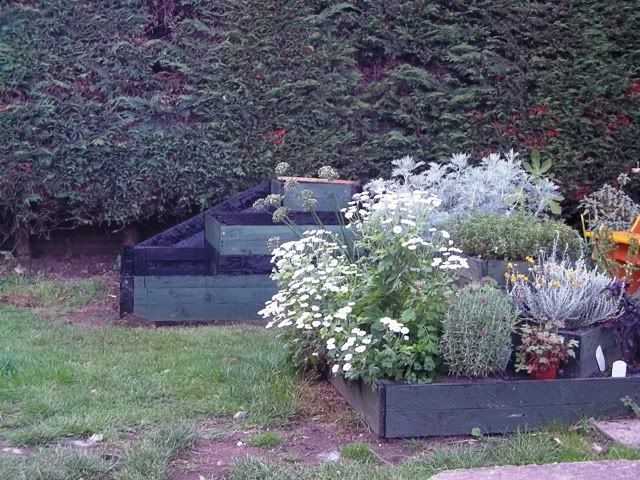
The stepped 3 tier flower planter in the background, and our stepped 3 tiered herb planter in the foreground:
I still have to fill the flower planter with soil, compost and manure, and hope to have this task completed before this weekend, so that Lois can begin planting the bulbs ready for next spring.


what do you do with yours?